
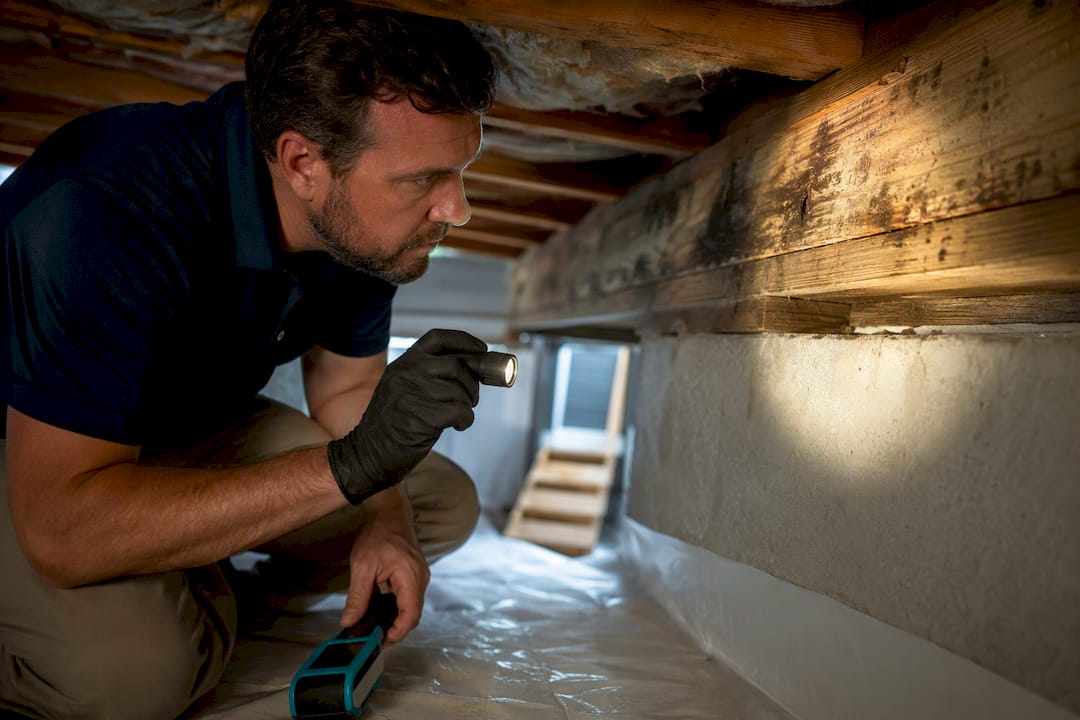
Mold remediation follows a fixed order: inspect and scope the damage, fix the moisture source, contain the area, remove contaminated material, clean using a HEPA sequence, dry the space, and verify with independent testing. The EPA says homeowners can typically handle patches under 10 square feet on hard, non-porous surfaces themselves, wearing basic PPE. Anything larger, or any job touching HVAC systems or contaminated water, calls for a licensed professional and a documented clearance report.
TL;DR:
- Mold remediation should only be attempted for patches under 10 square feet on non-porous surfaces by homeowners, with larger or water/ HVAC involved jobs requiring professionals.
- Fixing the moisture source and ensuring materials are thoroughly dried are critical steps to prevent mold from returning after remediation.
- Containment involves sealing the work area with plastic, using HEPA filtration, and PPE, especially for larger jobs involving demolition or suspected HVAC contamination.
- The standard cleaning process includes three passes with HEPA vacuuming and damp wiping, followed by antimicrobial treatment only as a supplemental step.
- Professional assessment, containment, and independent clearance testing are essential for jobs exceeding 10 square feet or involving sewage, water damage, or vulnerable occupants.
Table of Contents
- What Happens During Inspection and Scope Assessment?
- Why Fixing the Moisture Source Comes Before Anything Else
- How Do Crews Contain Mold and Protect Themselves?
- What Materials Have to Be Removed vs. Cleaned?
- The Three-Pass Cleaning Sequence Explained
- How Long Does Drying and Humidity Control Take?
- What Does Restoration and Disposal Involve?
- What Counts as a Successful Clearance Test?
- When Should You Hire a Professional, and What Will It Cost?
- How Do You Prevent Mold From Coming Back?
- What Separates a Solid Contractor From a Risky One?
- Ready for a Professional Mold Assessment in Orlando?
- Sources
What Happens During Inspection and Scope Assessment?
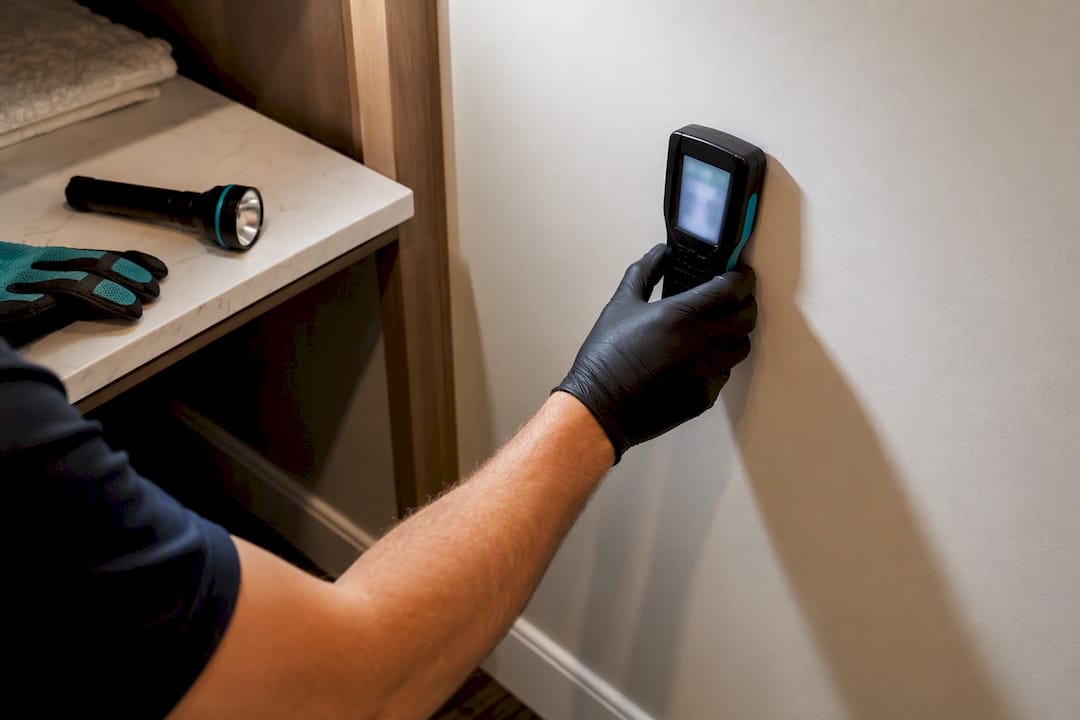
Before anyone touches a wall, a proper mold remediation process starts with measurement, not guesswork. Contractors rely on a handful of tools to find contamination you can’t see behind drywall or under flooring:
- Moisture meters that read water content inside building materials
- Hygrometers to track ambient relative humidity
- Infrared or thermal cameras that flag temperature differences pointing to trapped moisture
Visible mold is often just the edge of a larger colony growing behind a wall cavity or under carpet padding. That’s why scope matters: a written assessment should list every affected area, assign a condition level to each, and recommend specific actions, not a vague “clean as needed.”
Pro Tip: Ask any inspector for moisture readings in numbers, not just a verbal “it’s damp here.” Numbers create a baseline you can compare against after drying.
Why Fixing the Moisture Source Comes Before Anything Else
Skip this step and the mold comes back, often within weeks. The EPA’s extended cleanup guidance is blunt about it: remediation started before the water problem is solved tends to fail. The usual culprits are:
- Plumbing leaks, often hidden inside walls or under sinks
- Roof leaks or damaged flashing
- Poor grading that pushes water toward the foundation
- HVAC condensate lines that back up or disconnect
Materials that stay wet longer than one to two days are prime real estate for new mold growth, so drying has to start immediately, not after the remediation crew shows up later; improving the air quality in your office with commercial cleaning is key to preventing mold recurrence and maintaining a healthy environment (Commercial Cleaning – Sydney Sweep and Scrub).
How Do Crews Contain Mold and Protect Themselves?
Containment scales with the size of the job. A small patch might get a simple plastic sheet taped around the work zone. A larger job needs full containment with airlocks, negative air machines pulling air out through a HEPA filter, and separate decontamination steps for anyone entering or leaving.
- Seal the work area with plastic sheeting and tape
- Set up negative air machines or HEPA air scrubbers to control airflow and filter spores
- Establish an airlock or decontamination chamber for larger jobs
- Suit up in PPE appropriate to the task
For a quick cleanup on a small surface, CDC guidance recommends a NIOSH-approved N95 respirator at minimum. Demolition work calls for a half or full-face respirator, gloves, and eye protection, since disturbing moldy material throws spores into the air you’re breathing.
Pro Tip: If you have asthma, COPD, or a compromised immune system, sit this one out entirely. The CDC is explicit that these groups shouldn’t perform mold cleanup themselves.
What Materials Have to Be Removed vs. Cleaned?
Physical removal is the primary method that actually works. Chemical treatments help afterward, but they don’t substitute for pulling out material that’s absorbed mold deep into its structure.
- Drywall, insulation, and carpet with visible growth are usually unsalvageable and should be double-bagged before leaving the room
- Non-porous surfaces like tile, glass, and metal can often be saved with a HEPA vacuum pass followed by a damp wipe
- Suspected HVAC contamination or any job involving sewage-contaminated water needs a specialist, not a weekend project
Physical removal of porous materials remains the industry-standard approach because chemicals alone can’t reach mold that’s grown into the paper backing of drywall or the fibers of carpet padding.
The Three-Pass Cleaning Sequence Explained
Once contaminated material is out, the cleaning follows a specific order that professionals rarely skip:
- HEPA vacuum the entire surface to pull loose spores and debris
- Damp wipe with detergent and water to physically remove residue
- HEPA vacuum again to catch anything the wipe stirred up
Antimicrobial or antifungal products come in only after this sequence, as a supplemental step, never a replacement for it. The EPA’s remediation guidance, which lines up with the ANSI/IICRC S520 industry standard, treats this three-pass method as the baseline for professional work.
One safety rule gets ignored more than any other: never mix bleach with ammonia. The combination produces toxic fumes, and it happens more often than you’d think when someone grabs two cleaners off the shelf without reading labels. Follow whatever the product instructions say, every time.
How Long Does Drying and Humidity Control Take?
Industrial dehumidifiers and air movers do the heavy lifting here, and the goal is a specific number: indoor relative humidity below 50 to 60%. Rebuilding before that target is met just invites the mold back.
- Small jobs like a bathroom or closet typically require a few days of active drying, medium jobs such as a bedroom or basement section may take several days, and large or structural jobs generally require about a week or more.
Skipping ahead to drywall and paint before the moisture readings confirm dryness is one of the most common mistakes property owners make after a rushed remediation job.
What Does Restoration and Disposal Involve?
Restoration is a separate phase from remediation, and it usually shows up as its own line item on a quote. It covers replacing what got torn out: drywall, insulation, flooring, trim.
- Contaminated waste goes out in sealed bags, labeled if your local regulations require it
- Keep every itemized quote, receipt, and third-party assessment report in one folder
- Insurance adjusters move faster when remediation and restoration costs are billed separately, not lumped together
What Counts as a Successful Clearance Test?
Post-remediation verification, often shortened to PRV, is the step that tells you whether the job actually worked. The goal is reaching “Condition 1,” meaning the treated area now matches unaffected parts of the building in air and surface quality.
- Visual inspection for any remaining growth or staining
- Moisture readings confirming materials are dry
- Air and surface samples sent to an independent lab for analysis
The EPA’s S520-aligned guidance recommends an independent third-party assessor handle this testing rather than the same crew that did the remediation work, since a company grading its own job is an obvious conflict of interest. Most homeowners can re-enter the space 24 to 48 hours after a successful clearance.
When Should You Hire a Professional, and What Will It Cost?
The line is pretty clear. The EPA’s basic cleanup guidance says you can likely handle it yourself if the patch is under 10 square feet, the surface is hard and non-porous, and everyone in the household is healthy. Cross any of those lines and it’s time to call a professional.
- Contamination covers more than roughly 10 square feet
- The HVAC system is involved or suspected
- The water source was sewage or otherwise contaminated
- Anyone in the home has asthma, COPD, or a weakened immune system
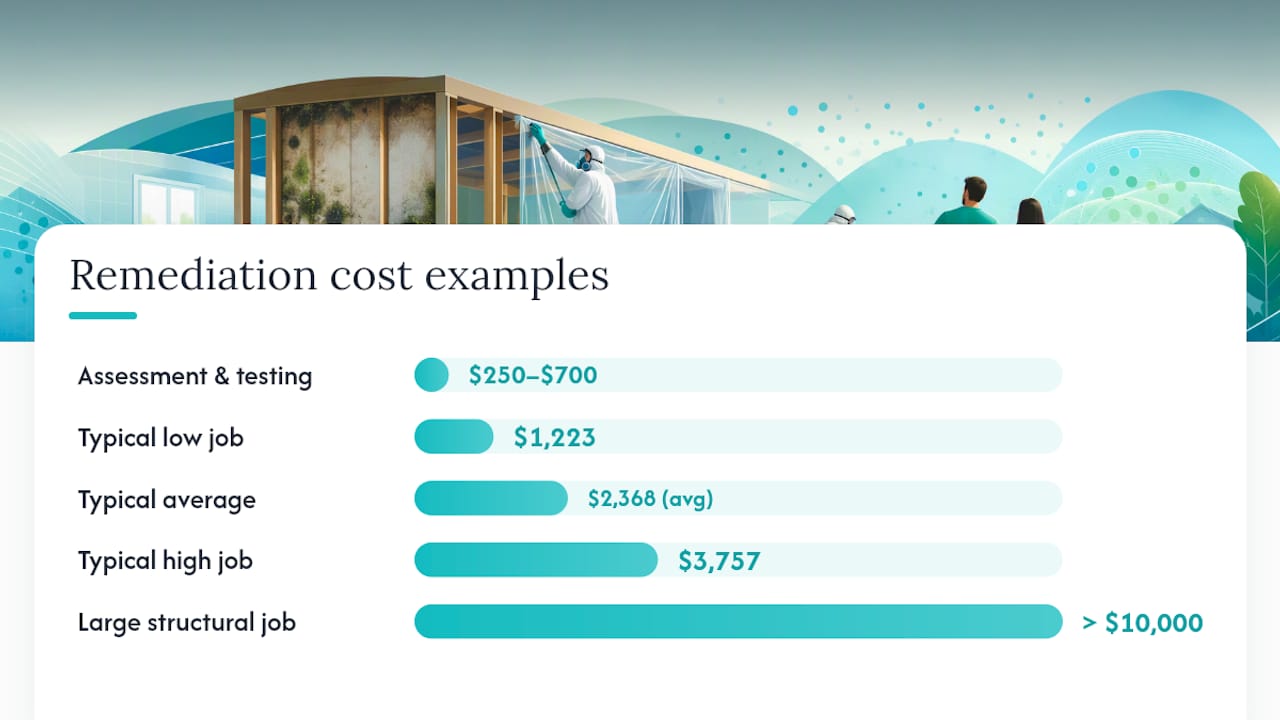
Cost varies with scope. Angi’s cost data puts typical professional remediation between $1,223 and $3,757, averaging around $2,368, with assessment and testing adding another $250 to $700. Larger or structural jobs involving extensive demolition can run past $10,000.
Pro Tip: Get itemized quotes that separate scope assessment, containment, equipment rental, material disposal, and PRV testing into distinct line items. It’s the only way to compare two contractors fairly, and it’s what insurance adjusters want to see anyway.
How Do You Prevent Mold From Coming Back?
Prevention boils down to three habits: fix leaks fast, dry wet materials within 24 to 48 hours, and keep indoor humidity between 30 and 50%.
- Install a simple hygrometer in basements, bathrooms, and crawl spaces to track humidity in real time
- Run bathroom and kitchen exhaust fans during and after every shower or cooking session
- Consider a whole-home or basement dehumidifier in humid climates
- Schedule a yearly look at your roof, plumbing connections, and crawl space, since small leaks there go unnoticed for months
What Separates a Solid Contractor From a Risky One?
The red flags are consistent across bad remediation jobs: no moisture correction before cleanup starts, no real containment, and no independent clearance testing at the end. If a contractor can’t produce a written scope, moisture readings, a PRV plan, or their assessor credentials on request, that’s your answer.
Some professional contractors keep a Florida Licensed Mold Assessor on staff and use moisture mapping to document conditions before and after work, creating a valuable paper trail for insurance claims.
— Nate
Ready for a Professional Mold Assessment in Orlando?
If you’re staring at a patch bigger than a dinner plate, or the water that caused it came from anywhere near a sewer line, this isn’t a weekend project. Professional restoration companies often have a Florida Licensed Mold Assessor on staff, use advanced moisture mapping to document conditions before work starts, and offer 24/7 emergency response to help minimize damage and costs.

Our team handles the full sequence: assessment, containment, removal, drying, restoration, and coordination of independent post-remediation verification, with real-time documentation your insurance adjuster can actually use. If the mold traces back to a recent leak or storm event, our water damage restoration crew can address the source while remediation is underway. Request an itemized quote through our mold remediation services page, and always ask whoever you hire for independent clearance testing before you sign off on the job as finished.
Sources
- What are the basic mold cleanup steps? | US EPA
- Mold clean up guidelines and recommendations | CDC
- How much does mold remediation service cost? | Angi